SOTA - Summits on the Air // How, Why, Where & When!
What is SOTA
Summits on the Air (SOTA) is an awards programme, not a contest, designed to encourage portable operations from mountainous locations. John Linford (G3WGV) initially came up with the idea but I think it was seeing the European Adventure Radio website hosted by Richard (G3CWI) that nudged him into contacting Richard with the seed of the idea and beginning to develop it further. When it launched in 2002 it initially just covered the UK but now (in 2017) operates in 120 associations across ~55 countries. The structure and rules of SOTA enable it to be quite inclusive and accessible to all abilities and, as a nice touch, SWL friendly. The ARM (association reference manual) defines all the rules for a particular association or country.How does it work
SOTA is made up of two parts…Activators and Chasers. The Activators climb the hills and operate portable stations, the Chasers operate from their cosy shacks to try and make contacts with the Activators. To qualify as a SOTA summit in the UK a hill or mountain must have a prominence of 150m. These are known as Marylins with over 1500 available in the UK.
Activators have to be within 25 vertical meters of the summit and this gives some margin to set-up and operate radio safely alongside other hill users. You can only claim points for a summit once in each 12 month period and during the winter some summits attract a winter bonus of an additional 3 points to reflect the additional challenge of winter climbing and operating.
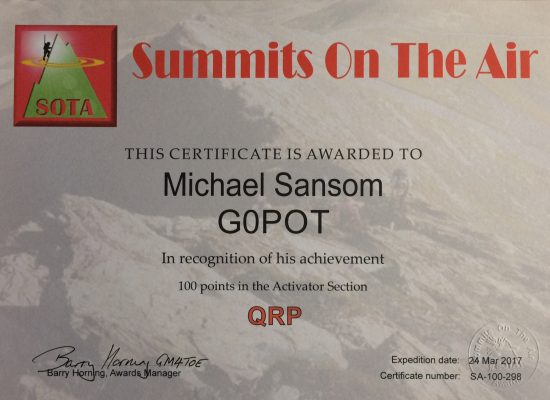
All modes and all bands are open to activators...you can go wild! Certificates are available for gaining 100, 250, 500, 1000 points (Activators and Chasers).
Why SOTA?
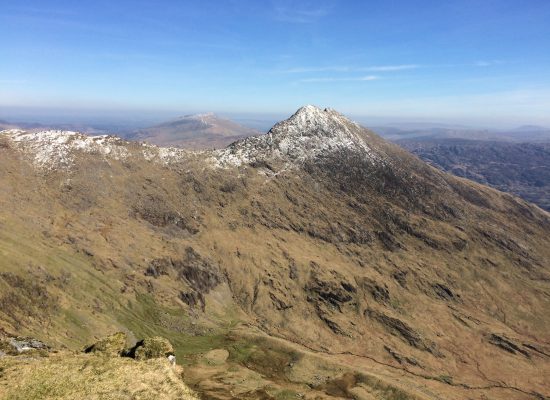
I think this picture sums it up...the view of Snowdon and Aran from the summit of Lliwedd (March 2017).Finding a SOTA activation
A great way to start is to experience chasing SOTA activators and a great way to find SOTA activators is to use sotawatch.org. You’ll get to see how different activators operate, what they do well and what they could improve. You’ll hear the sort of contest style ‘overs’ that are typical and how activators handle pile-ups. It’s like being DX. In the screenshot we can see some example spots. The operator’s call sign is displayed (not all portable ops sign /P) followed by the summit reference. This reference is a unique reference for every SOTA summit and basically takes the form of County Prefix/Regional code – number, e.g. G/SE-001 (this is G for England, SE for South East and 001 for the first summit in this region). The spots also show the stations frequency and their mode. This page is also used by Activators to alert chasers to up-and-coming activations.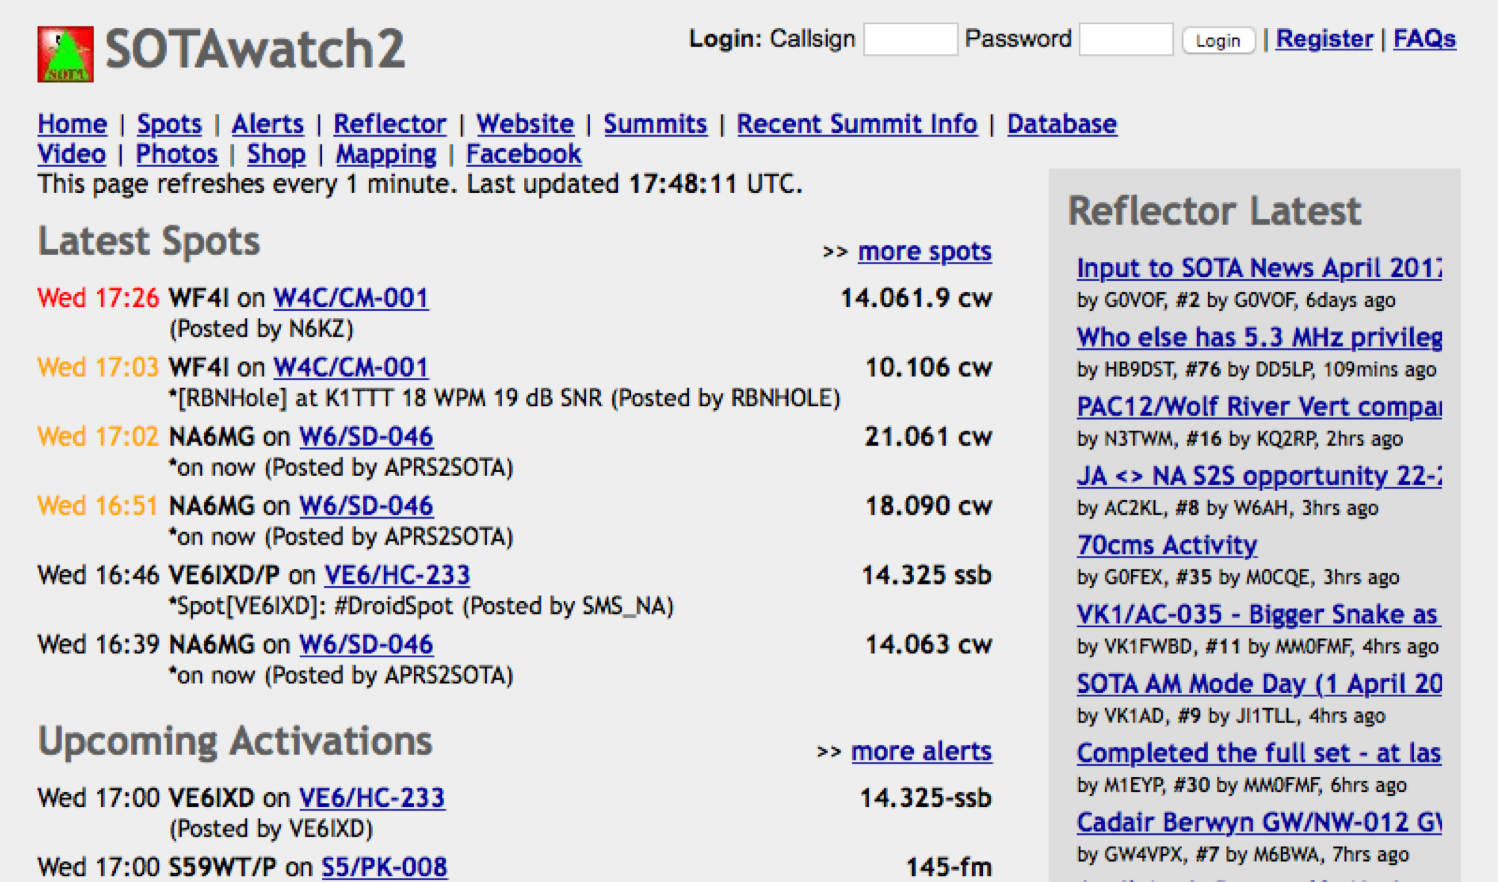
Finding a summit
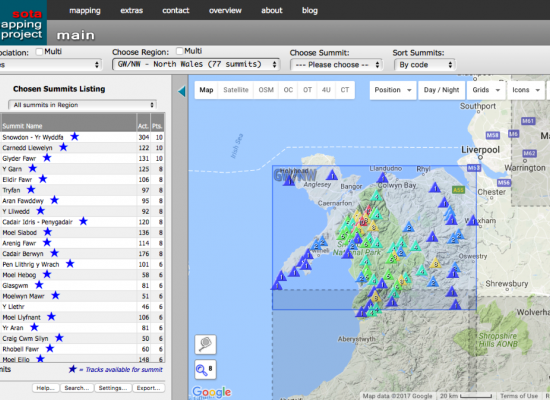
So once you’ve ‘Chased’ a few summits you’ll be keen to have a go as an Activator…so how do you find a summit? We head to sotadata.org.uk, and from the main menu choose Summits > SOTA Mapping Project. Here we can select our country and region from the drop down boxes and we’ll see a list of all the summits in that region. The example shown is north Wales. The map displays summits in different colours associated with their points value and you can see the point value written on the triangle indicating the summit too. Dark Blue 1 point, Light Blue 2 points, Turquoise 4 points, Green 6 points, Yellow 8 points and Red 10 points.If you’ve never operated portable I highly recommend that, before heading out to a summit you test-drive operating portable in your garden or local park. It’ll ensure you’ll have everything you need and that you haven’t forgotten a power lead or microphone or that critical PL259 to BNC adaptor that you need to attach an aerial…there’s nothing worse than climbing a big hill and discovering you’ve packed poorly!
If you’re comfortable operating portable and want to get activating a summit then I recommend starting with a 1 or 2 point hill as local to you as possible. It’ll keep things simple, give you the opportunity to realise you’ve forgotten basics like a charged battery or a waterproof jacket and enable you to experience some of the vagaries of hill top operating without a big investment in time or risk.
So before we continue with our planning lets split the activating summits into the following two parts;
• Hill walking
• Portable operating
Researching the summit
Back to the maps at sotadata.org.uk. Find a summit local to you…mine is Walbury Hill. Left clicking the triangle that represents the summit you’d like to activate you get a pop up box with some summit info. If you click the hill name it takes you to a data page for the summit. This includes a data summary for the summit but, more usefully, it includes links added by previous activators to their blogs or other online resources for the summit. This can give you invaluable information about where to park, different routes to take, issues that you might come across on the climb or the summit and the success or otherwise of different bands the activators used. Before you leave this page make a note of the Grid Reference for your chosen summit…in the picture mine is SU373616.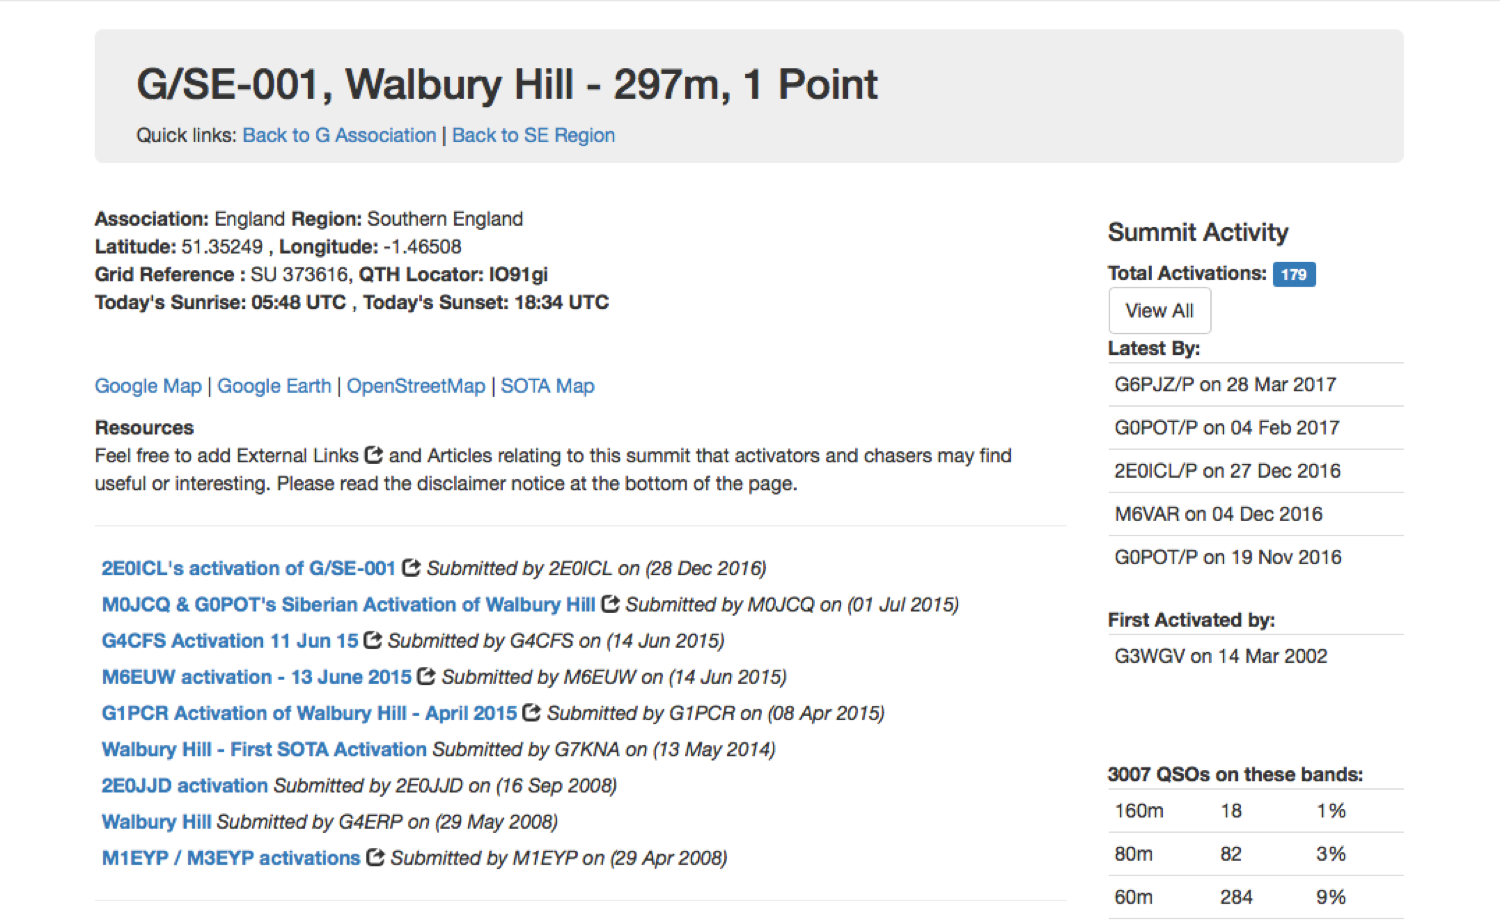
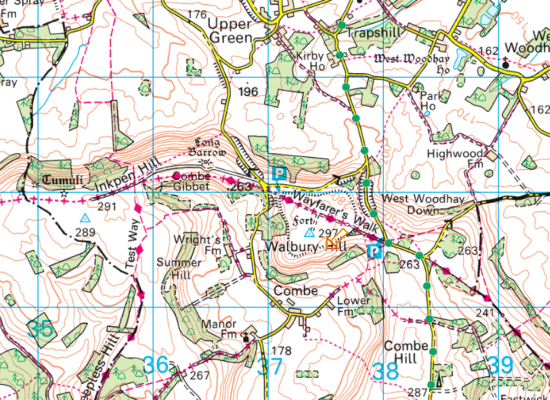
We can plan a route to the summit, hopefully using existing trails marked on the map. Use other peoples experience gleaned from sotadata.org.uk (referenced above) to look for popular routes and areas where you can get lost. The map allows us to work out the size of the activation zone (easy to see with contour lines).
Let me say a few words about the activation zone or AZ…because we don’t want to be inconsiderate or put anyone else enjoying the summit in danger the SOTA rules allow activation from anywhere within 25 vertical meters of the summit…so in my example here, the summit is at 297m therefore I can operate anywhere above 272m and be within the activation zone. In the case of my local summit, Walbury Hill, this means that the car park is almost in the activation zone. Note that operating from within a car is not allowed under the SOTA rules. The summit of Walbury Hill is actually private land and operation from it would require permission…because of the size of the AZ it is possible to set up from the public right of way crossing near the summit to avoid falling foul of the land owner.
Weather and Temperature
The first thing you’re going to notice while climbing with a backpack full of radio gear is how quickly you get hot and how much you sweat. Pace yourself and dress in layers that can be added or removed as needed, they trap warm air and insulate you. When you get to the windy summit that sweat is going to evaporate and cool you down very quickly if you’re not careful. At the base of the hill the weather may be warm with little breeze but as you climb the temperature drops (noticeably for very tall summits) and you can find yourself more exposed to wind and rain.On a recent ascent of Snowdon the temperature in the car park was about 4°C with light winds…on the summit the temperature was about 0°C and, with 70-80km/h winds the wind chill was about -10°C. For walkers, summit temperature may not be an issue…they get warm climbing, stop for a moment on the summit to enjoy the view and then they’re off again walking. For radio operators you may arrive at the summit warm but you are likely to be operating for 30 mins to 3 – 4hours and you will be exposed to the elements throughout…its easy to start getting cold.
A windproof/waterproof shell is important even if it’s just packed away in your backpack. Even on nice days I sometimes put on a light set of waterproofs over a thin layer of clothing just to keep the wind off and my temperature up.
Two things to be wary of are hypothermia and sunburn. Hypothermia creeps up on you slowly and can seriously affect your judgement. You may notice your handwriting deteriorating while logging or may find yourself struggling to remember the call sign you just heard…these are early signs of hypothermia. Stop operating and do something to warm up…its time to call it a day. Similarly, operating from an exposed hill top in a gentle breeze can mask the effects of the sun leaving you with sun stroke or sun burn…make sure you take steps to shield yourself from the sun and make use of natural cover if possible.
Safety
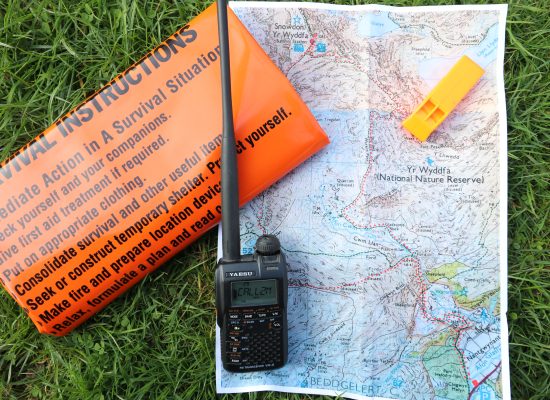
This isn’t an exhaustive list of ideas to remain safe but these are some of the more obvious steps you can take to mitigate any issues on a summit. Route Map – I always take a paper map with me along with a mapping app on my phone but a 2nd use for this is to create a route plan to leave with a friend or loved one. Mark where you’re going to park, your planned route, what time you’re going to depart the car park, what time you expect to summit, how long you’ll operate for and what time you expect to get back. If you have phone coverage you can update the person holding your route plan during the day but if there is no phone coverage call at the earliest opportunity after returning from your activation. If they don’t hear from you by a certain time the route plan holder should contact the emergency services and, if you’re car is still where you said it would be they’ll know you’re somewhere along your trail.A mobile phone is a brilliant tool; a map, gps, compass, spotting tool, logging platform selfie camera, torch…but all of those things can drain the battery and leave you without a way of communicating. You may simply not have coverage from your network provider. Taking a 2m handheld transceiver as an alternative does not 100% guaranteed you’ll be able to reach someone but I don’t think I’ve been on a summit yet where I couldn’t make a 2m contact. If you are going to use your phone for a range of applications why not grab a cheap prepay handset from an alternative operator and keep it purely for emergency comms or as a 2nd option when your preferred supplier has selfishly neglected to put 4G coverage in the middle of nowhere on your favourite summit! A battery booster is another lightweight way to ensure you don’t run your mobile flat.
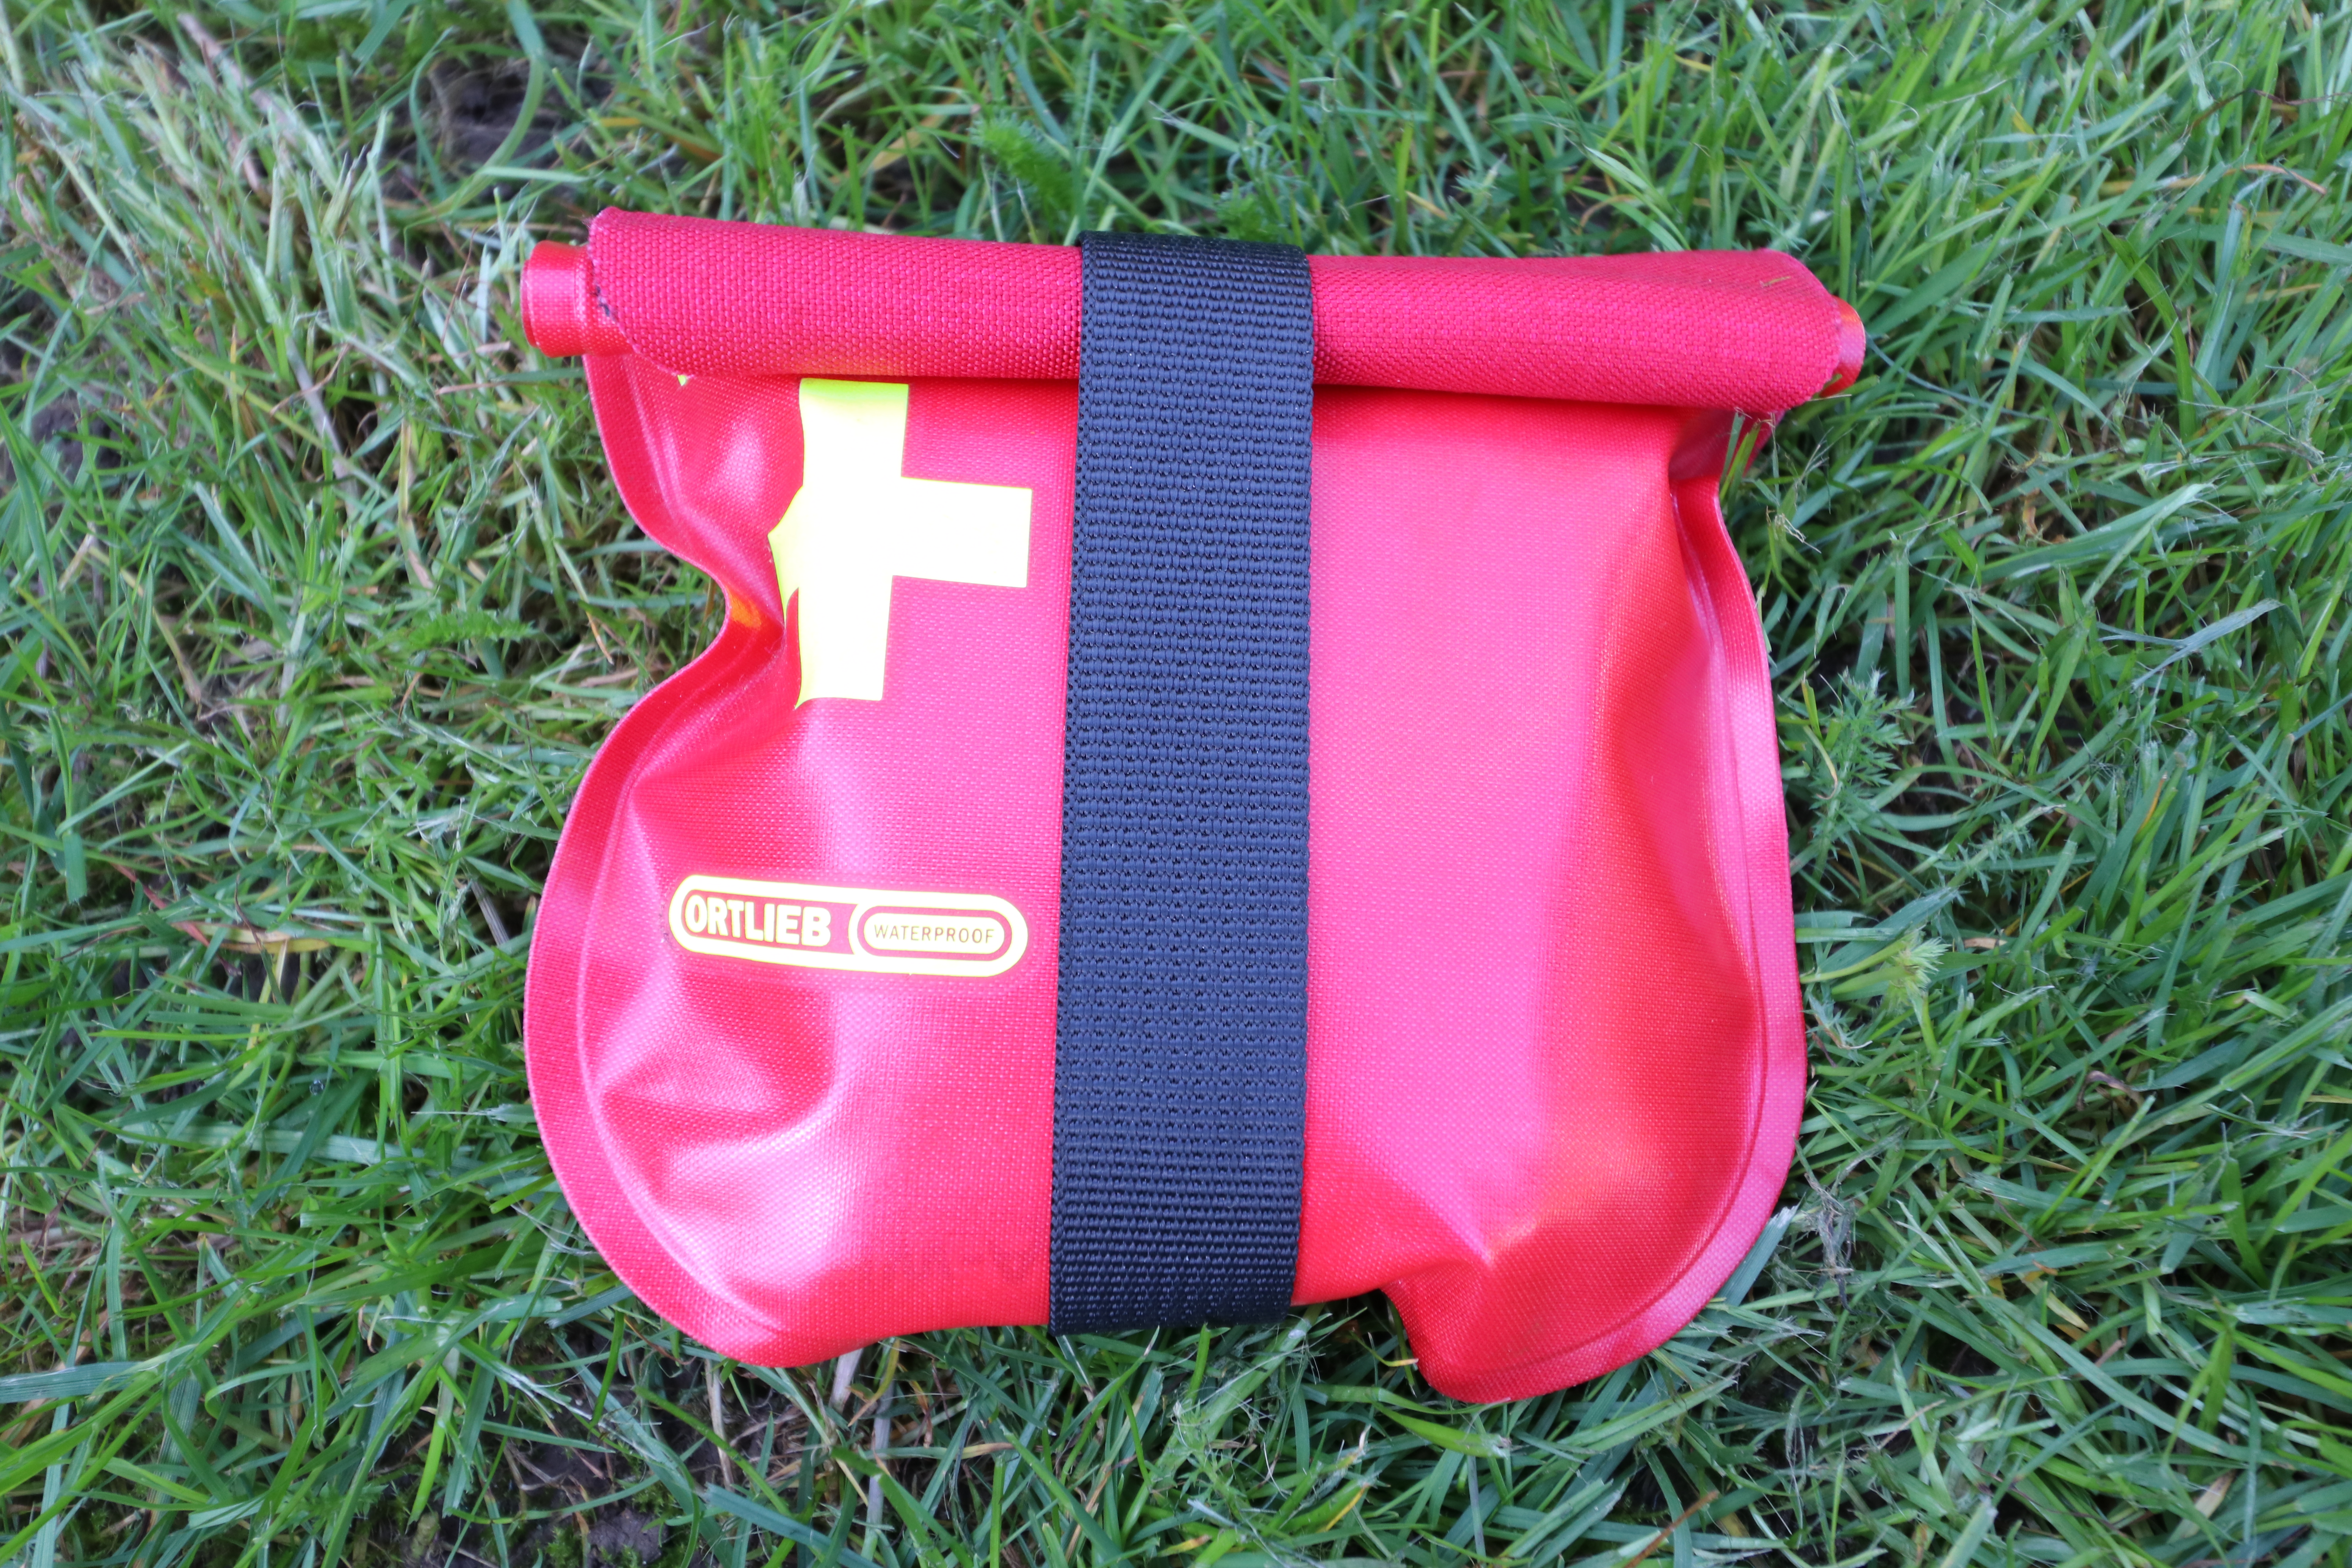
A small med kit doesn’t weigh much and can help if you slice open a finger on a barbed wire fence while putting up your mast…yep, done it. Tick tweezers are a good addition to a normal cheap kit and, at a push, a small bandage can hold a mast to a post when you find you’ve lost a Velcro strap and plasters are like little bits of PVC tape!
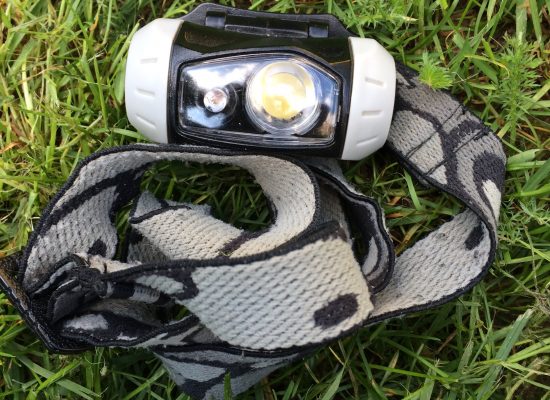
Check it works before a trip and then forget about it. If something goes wrong and you find yourself lost, on a summit, after dark, waiting for help, you’ll be super glad you’ve got it.
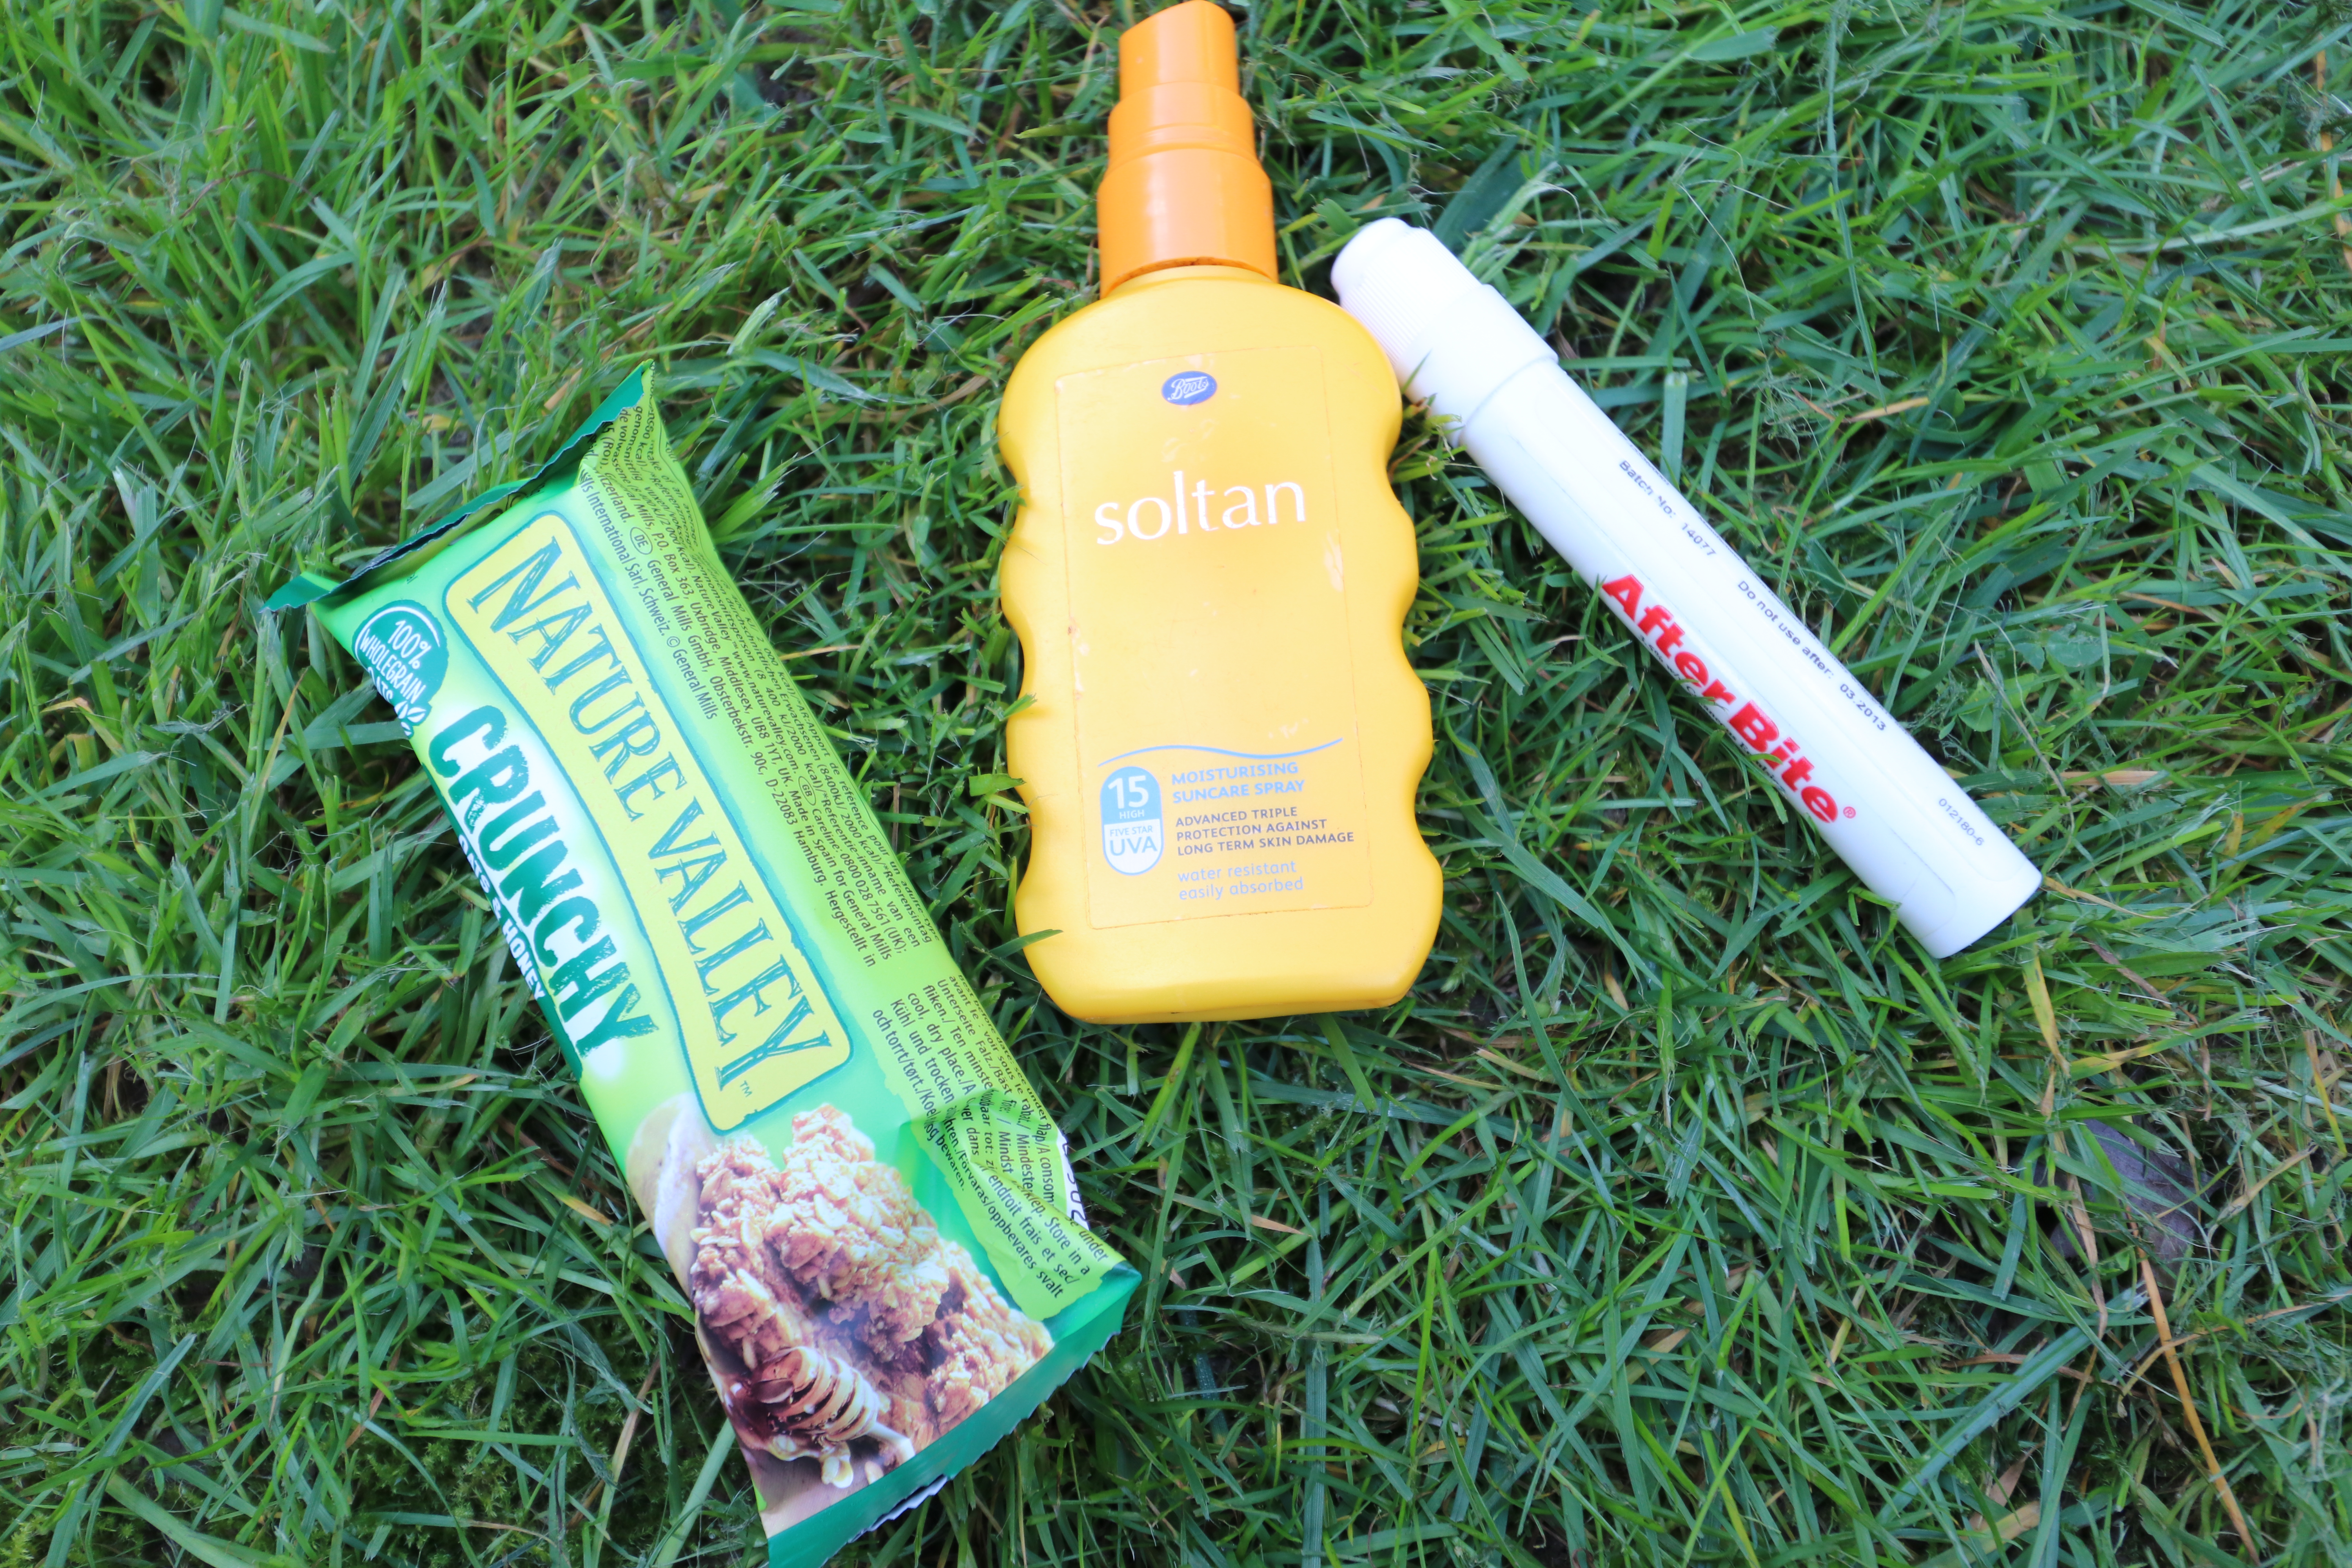
I always carry a mini bottle of sun lotion in case I reach a summit and there’s no shade and a little stick of antibite stuff simply because I’m a bit reactive to stings and bites.
Check out walking and climbing websites for more advice on hiking safety.
Fitness
Be aware that walking up even moderate hills is different to walking on the flat. It puts more stress on your calf muscles and tendons, both front and back, and your thigh muscles, especially the front of your thighs which, in turn, effects your knees. Add a heavy bag of radio kit and water and you’ll soon start to feel the burn. If you’re planning something a bit challenging it’s worth getting a month of more moderate hill walking and flat walking in to make sure your legs are up to it and everything is stretched and flexible.Be careful on your final descent from the summit. After a hard climb and lots of time sat around getting cold operating radio you can sometime find your leg strength is not what you are expecting when you descend the hill.
Finding the Activation Zone (AZ)
This might sound daft…its the top of a hill, how difficult can it be to find? Well, hills may not have a single distinct peak and from ground level it may be hard to determine exactly where the summit is. Trees and undergrowth can make understanding the terrain harder than you would think and then there’s fog and low cloud! Finding landmarks and obvious features can be impossible if visibility is just a few 10s of metres. I like to use a mapping app with built in GPS on my phone just to confirm I’m where I think I am. Remember to shut down such apps after using them otherwise the GPS can keep running and flatten your phone battery.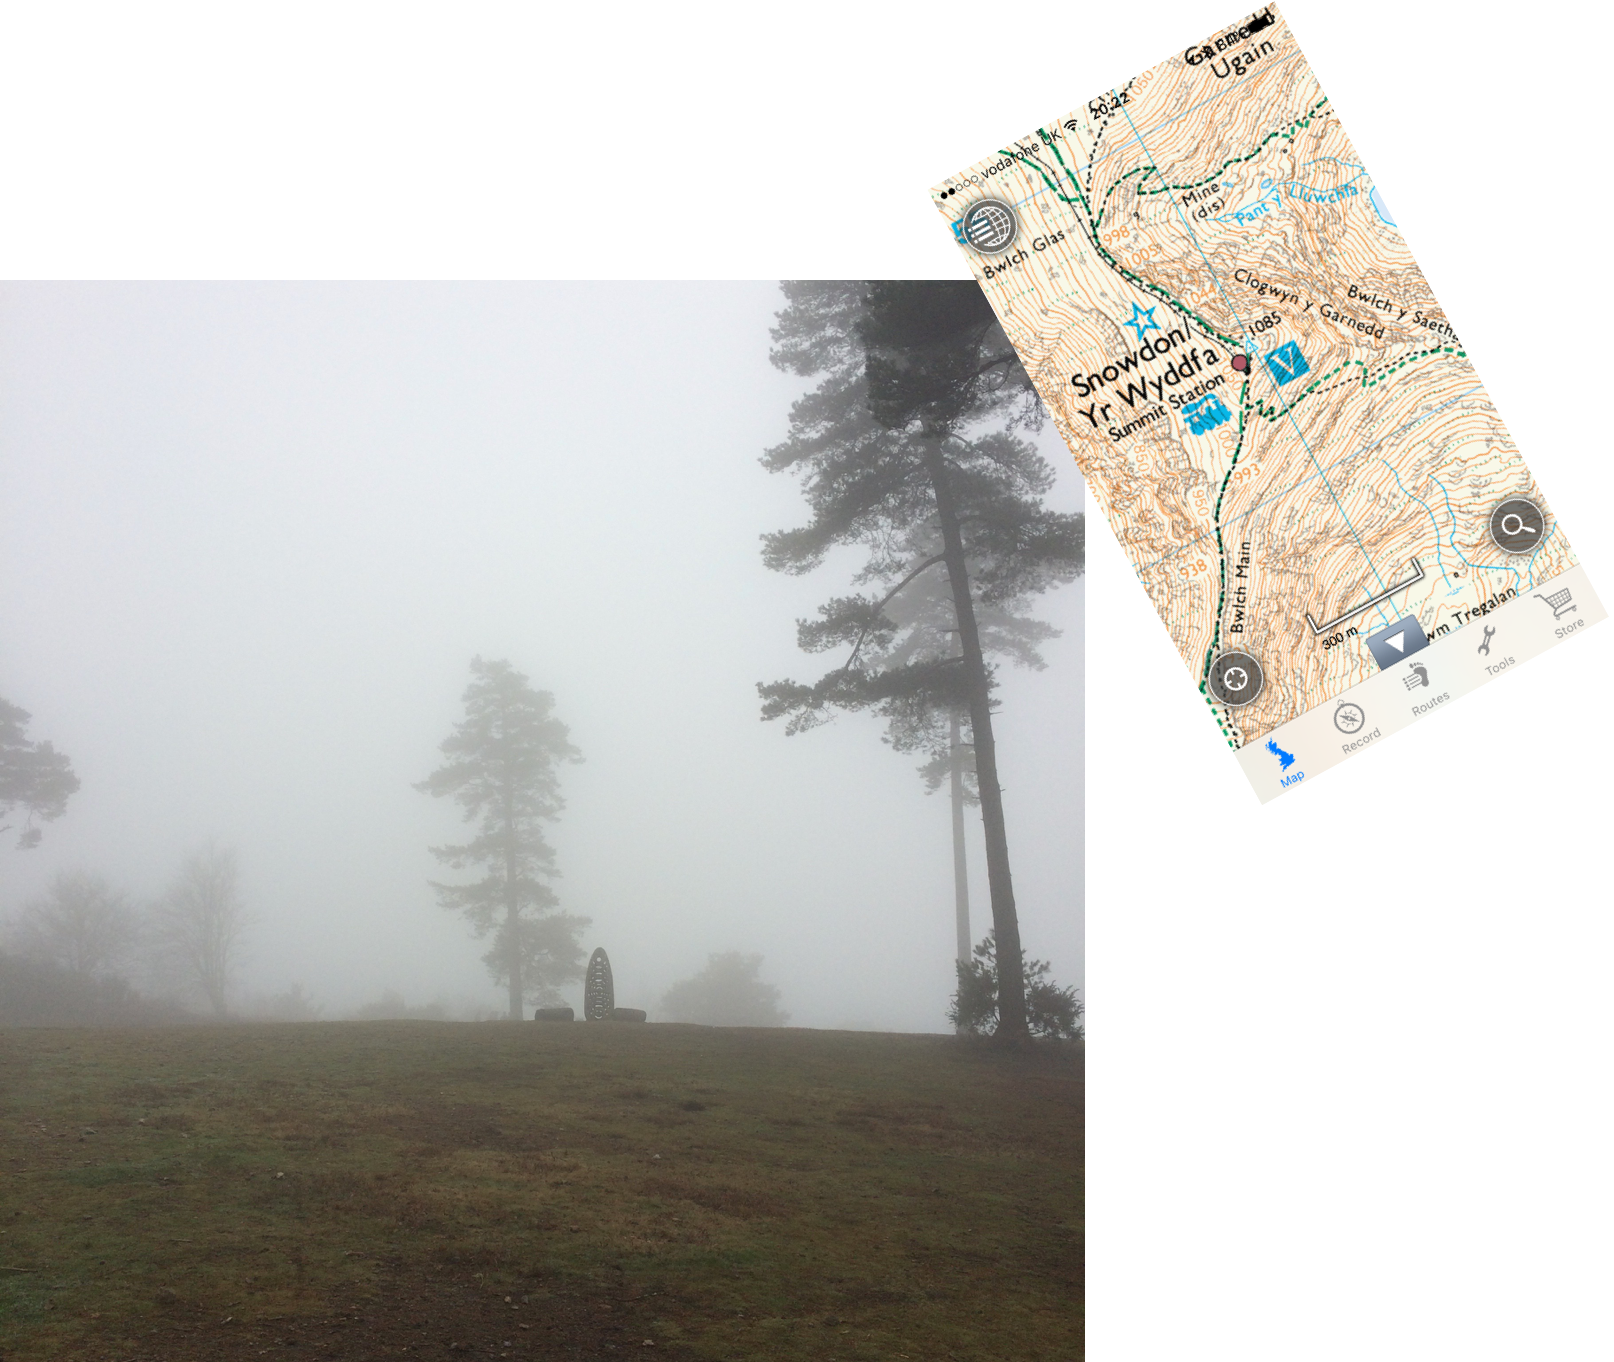
Radios
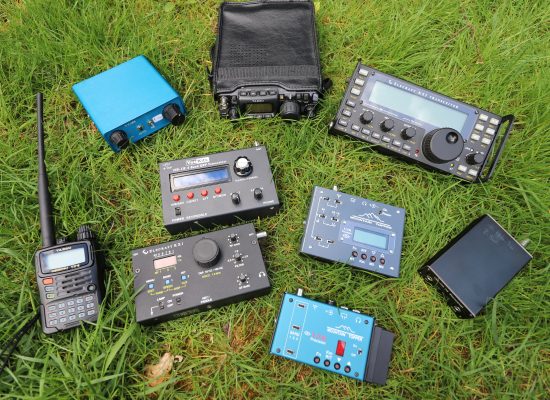
Many people ask, “What’s the best radio for SOTA”…the answer is simple, it’s the one that you already have, that you can run from a battery and that you don’t mind slinging in a backpack! I’ve operated SOTA using an army PRC320 and associated mast and dipole set…it was like carrying another human being up the hill. If you’re not walking far then weight is not such an issue but as you try more challenging summits every gramme starts to count.The first obvious thing when choosing your radio is what mode do you want to operate. HF voice tends to require larger, heavier radios than CW. Voice may require a little more power and that requires larger, heavier batteries.
Yaesu FT817 (all mode, all bands), 1.23kg
Elecraft KX3, (all mode, all bands), 1kg (with internal batteries)
YouKits HB1B (3 band, CW only), 390g
Yaesu VX-6 (2m/70cm HH), 280g
Elecraft (3 band, CW only) KX1 290g
MTR5B (5 band, CW only) 190g – whole station incl. battery, key and leads 550g
CRK-10A (single frequency XTAL) 148g
MTR3B (3 band, CW only) 130g – whole station incl. battery, key and leads 315g
Multimode sets like the KX3 or FT817 are great as they can cover FM, SSB and CW on HF and VHF but that comes at a cost…these radios weigh over 1kg compared to a simpler, 3-band, CW only MTR3B at just 130g. The choice is yours!
Aerials (VHF)
You can just use a 2m handheld with its rubber duck aerial and be quite successful. Adding an external aerial like this adaptable 2m dipole can help make the most of you’re few watts of energy and allows you to shelter behind rocks while the aerial is out in the open. This design supports FM (vertical) and SSB (horizontal).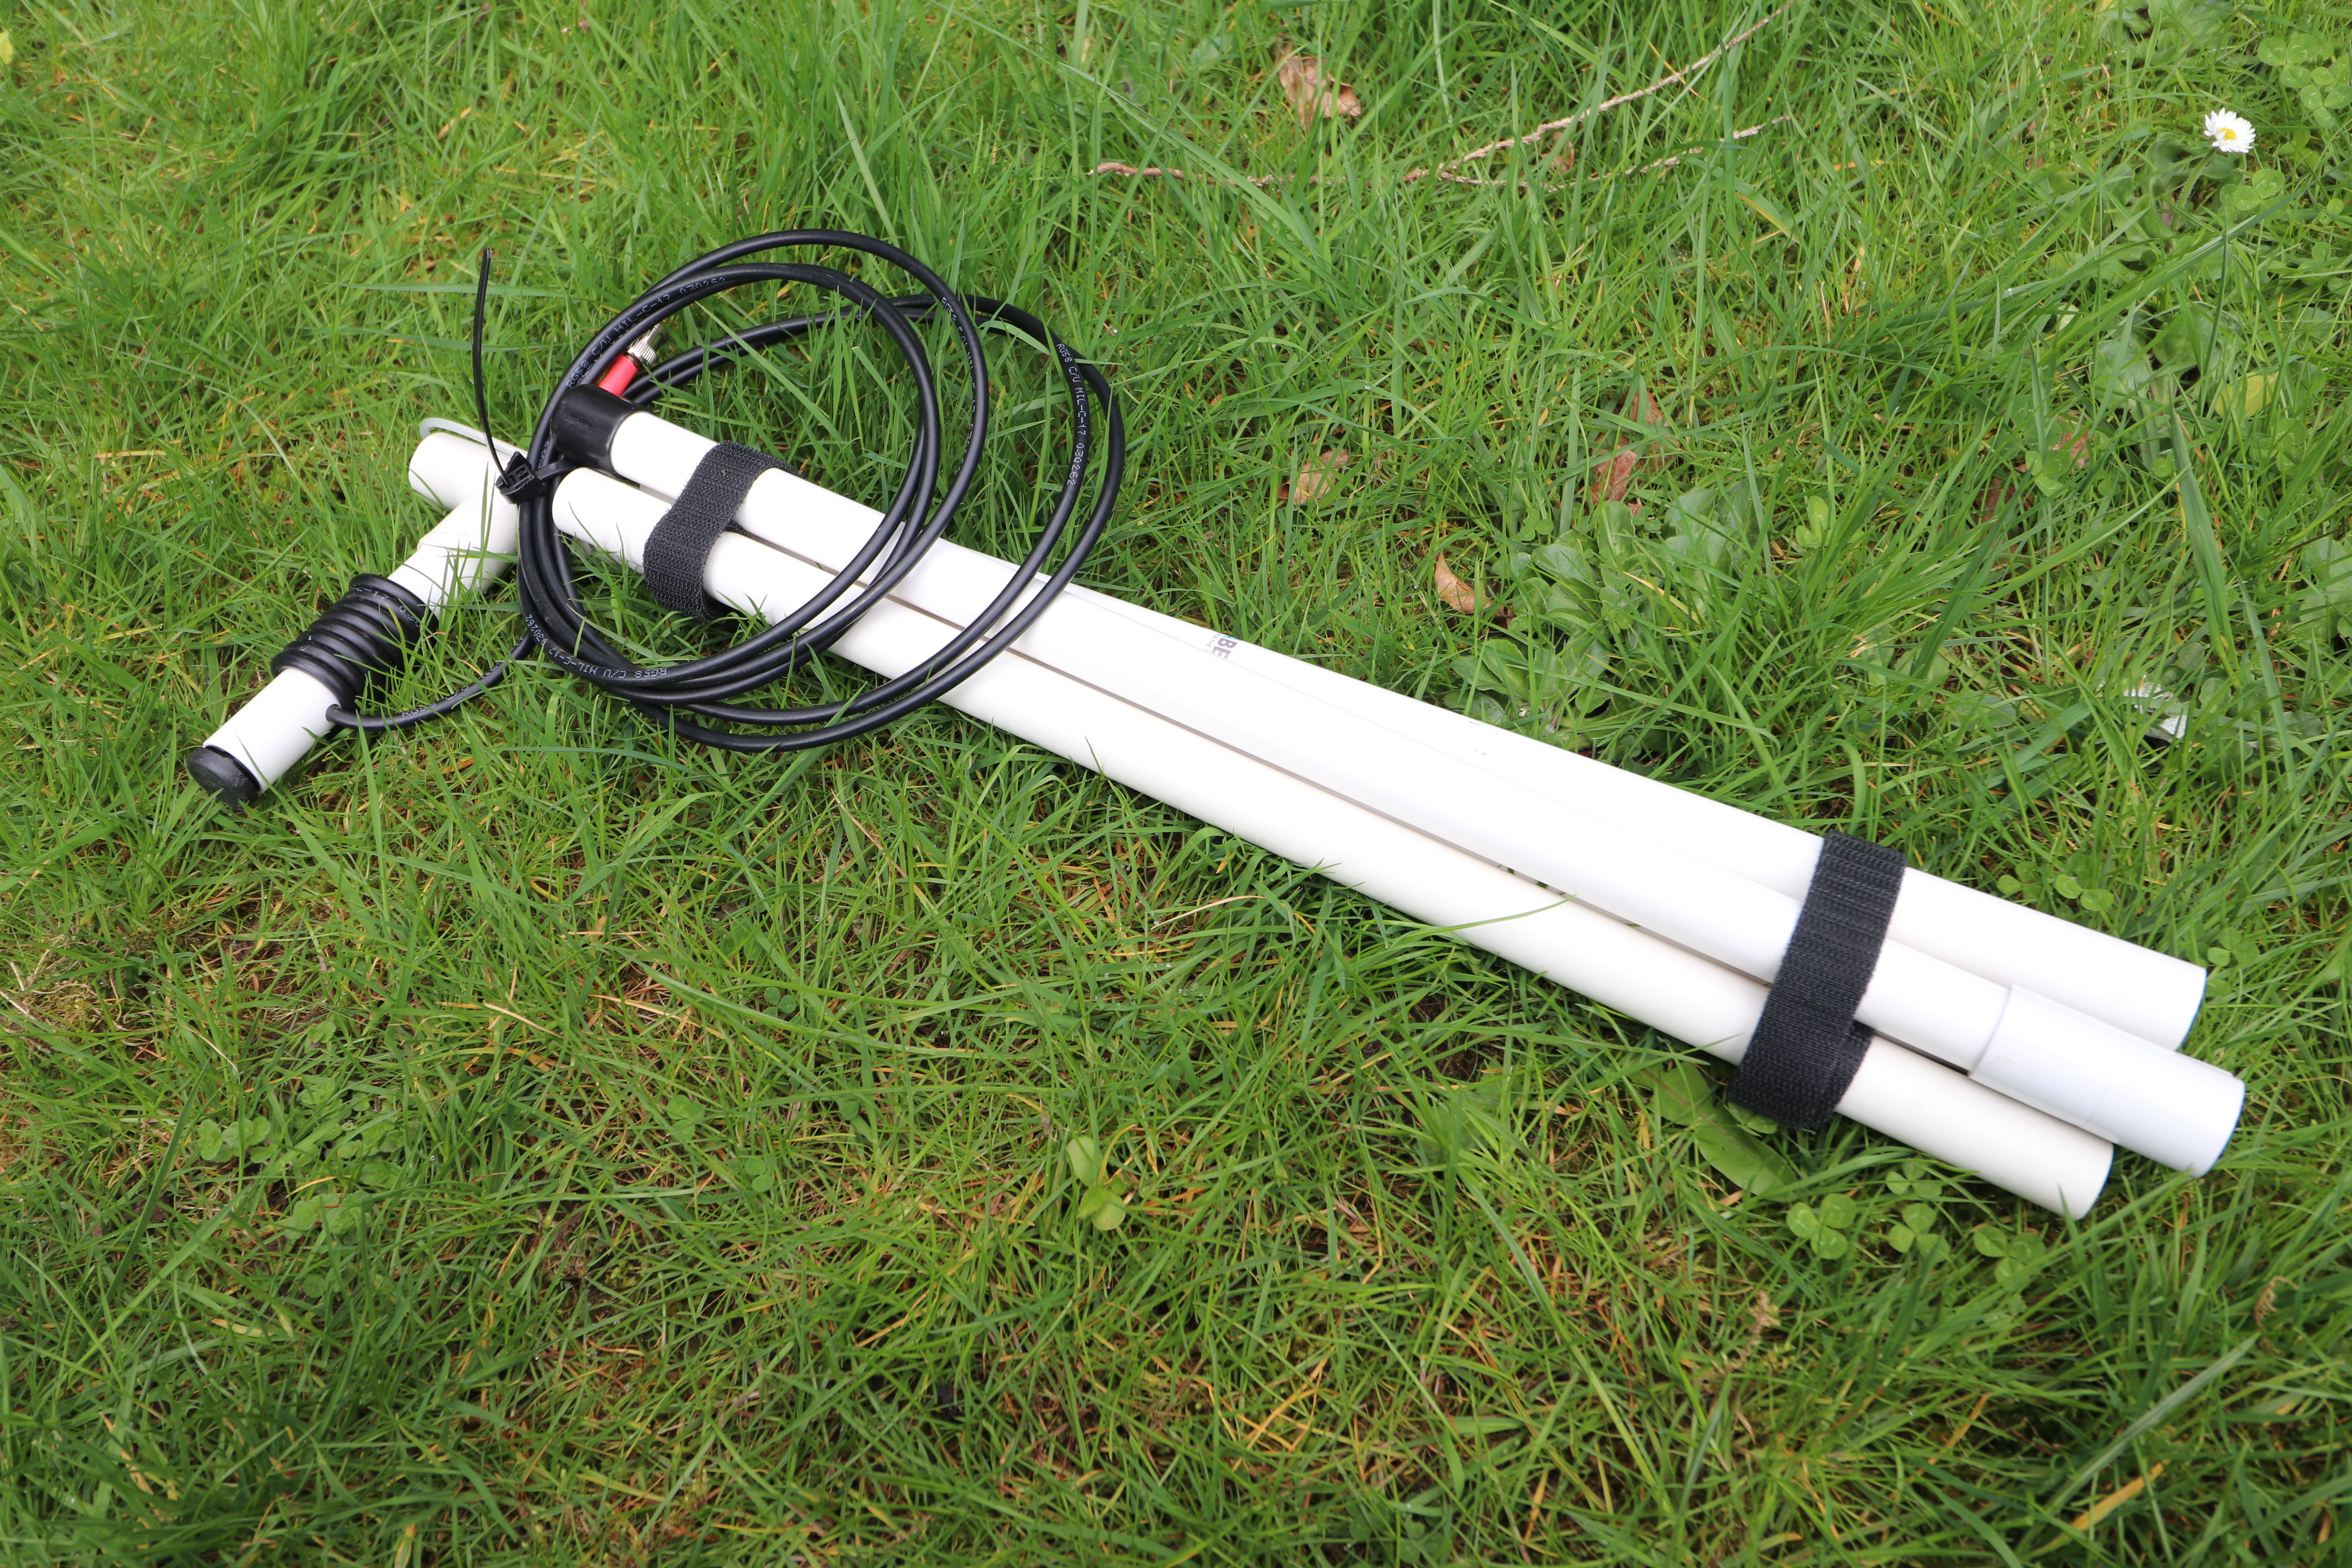
Aerials (HF dipole)
Although you may have a romantic idea of slinging an aerial over a tree branch there are a few spanners that can get in the works. Many summits wont have trees and those that do may not have a tree in the right place, with a branch at the right height, clear of other branches/trees. Getting a line over said branch without a catapult and weight (there may not be any loose stones around) may actually be harder than you think. To avoid this challenge I use a telescopic fishing pole as a mast. The standard 6m version is cheap and perfectly long enough but they tend to only collapse down to about a meter or more in length…too long for a backpack but you can carry it or add a strap and try and fit it on alongside your backpack. The picture shows my preference which is a 10m travel mast from SOTABeams which collapses down to 67cm and fits in a backpack. The downside is that it adds 1.3kg to my pack weight.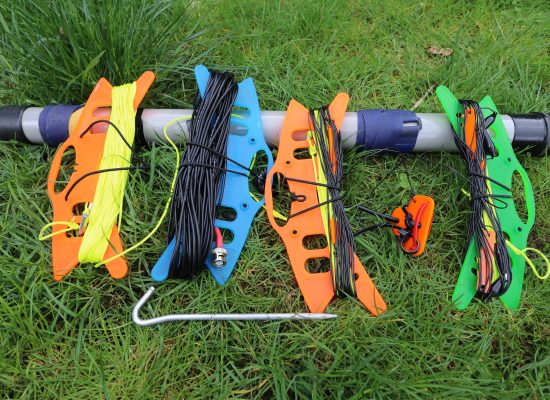
3 x band linked dipole 20, 30 & 40m, 615g
In the picture you can see my linked dipole for 20/30/40m to match my Mountain Topper radios. Using a tuned dipole means I don’t need to carry an ATU or any patch leads (for me to forget!). This dipole is fed with lightweight RG174 and even has a little common mode choke at the feed point. When I find a handy fence post the mast has a couple of Velcro straps and I simply strap the bottom of the pole to the post and then push up the aerial centre and secure the ends. When there are no handy posts I use the two elements as two of the guys and add a third guy line. I unravel the elements/guy, peg them out at about 13 – 14m, fully extend my mast on the ground connecting the centre of the dipole to the tip of the mast and then simply lift it into place. The whole thing typically supports it’s self while I adjust the guys.
Aerials (EFHW)
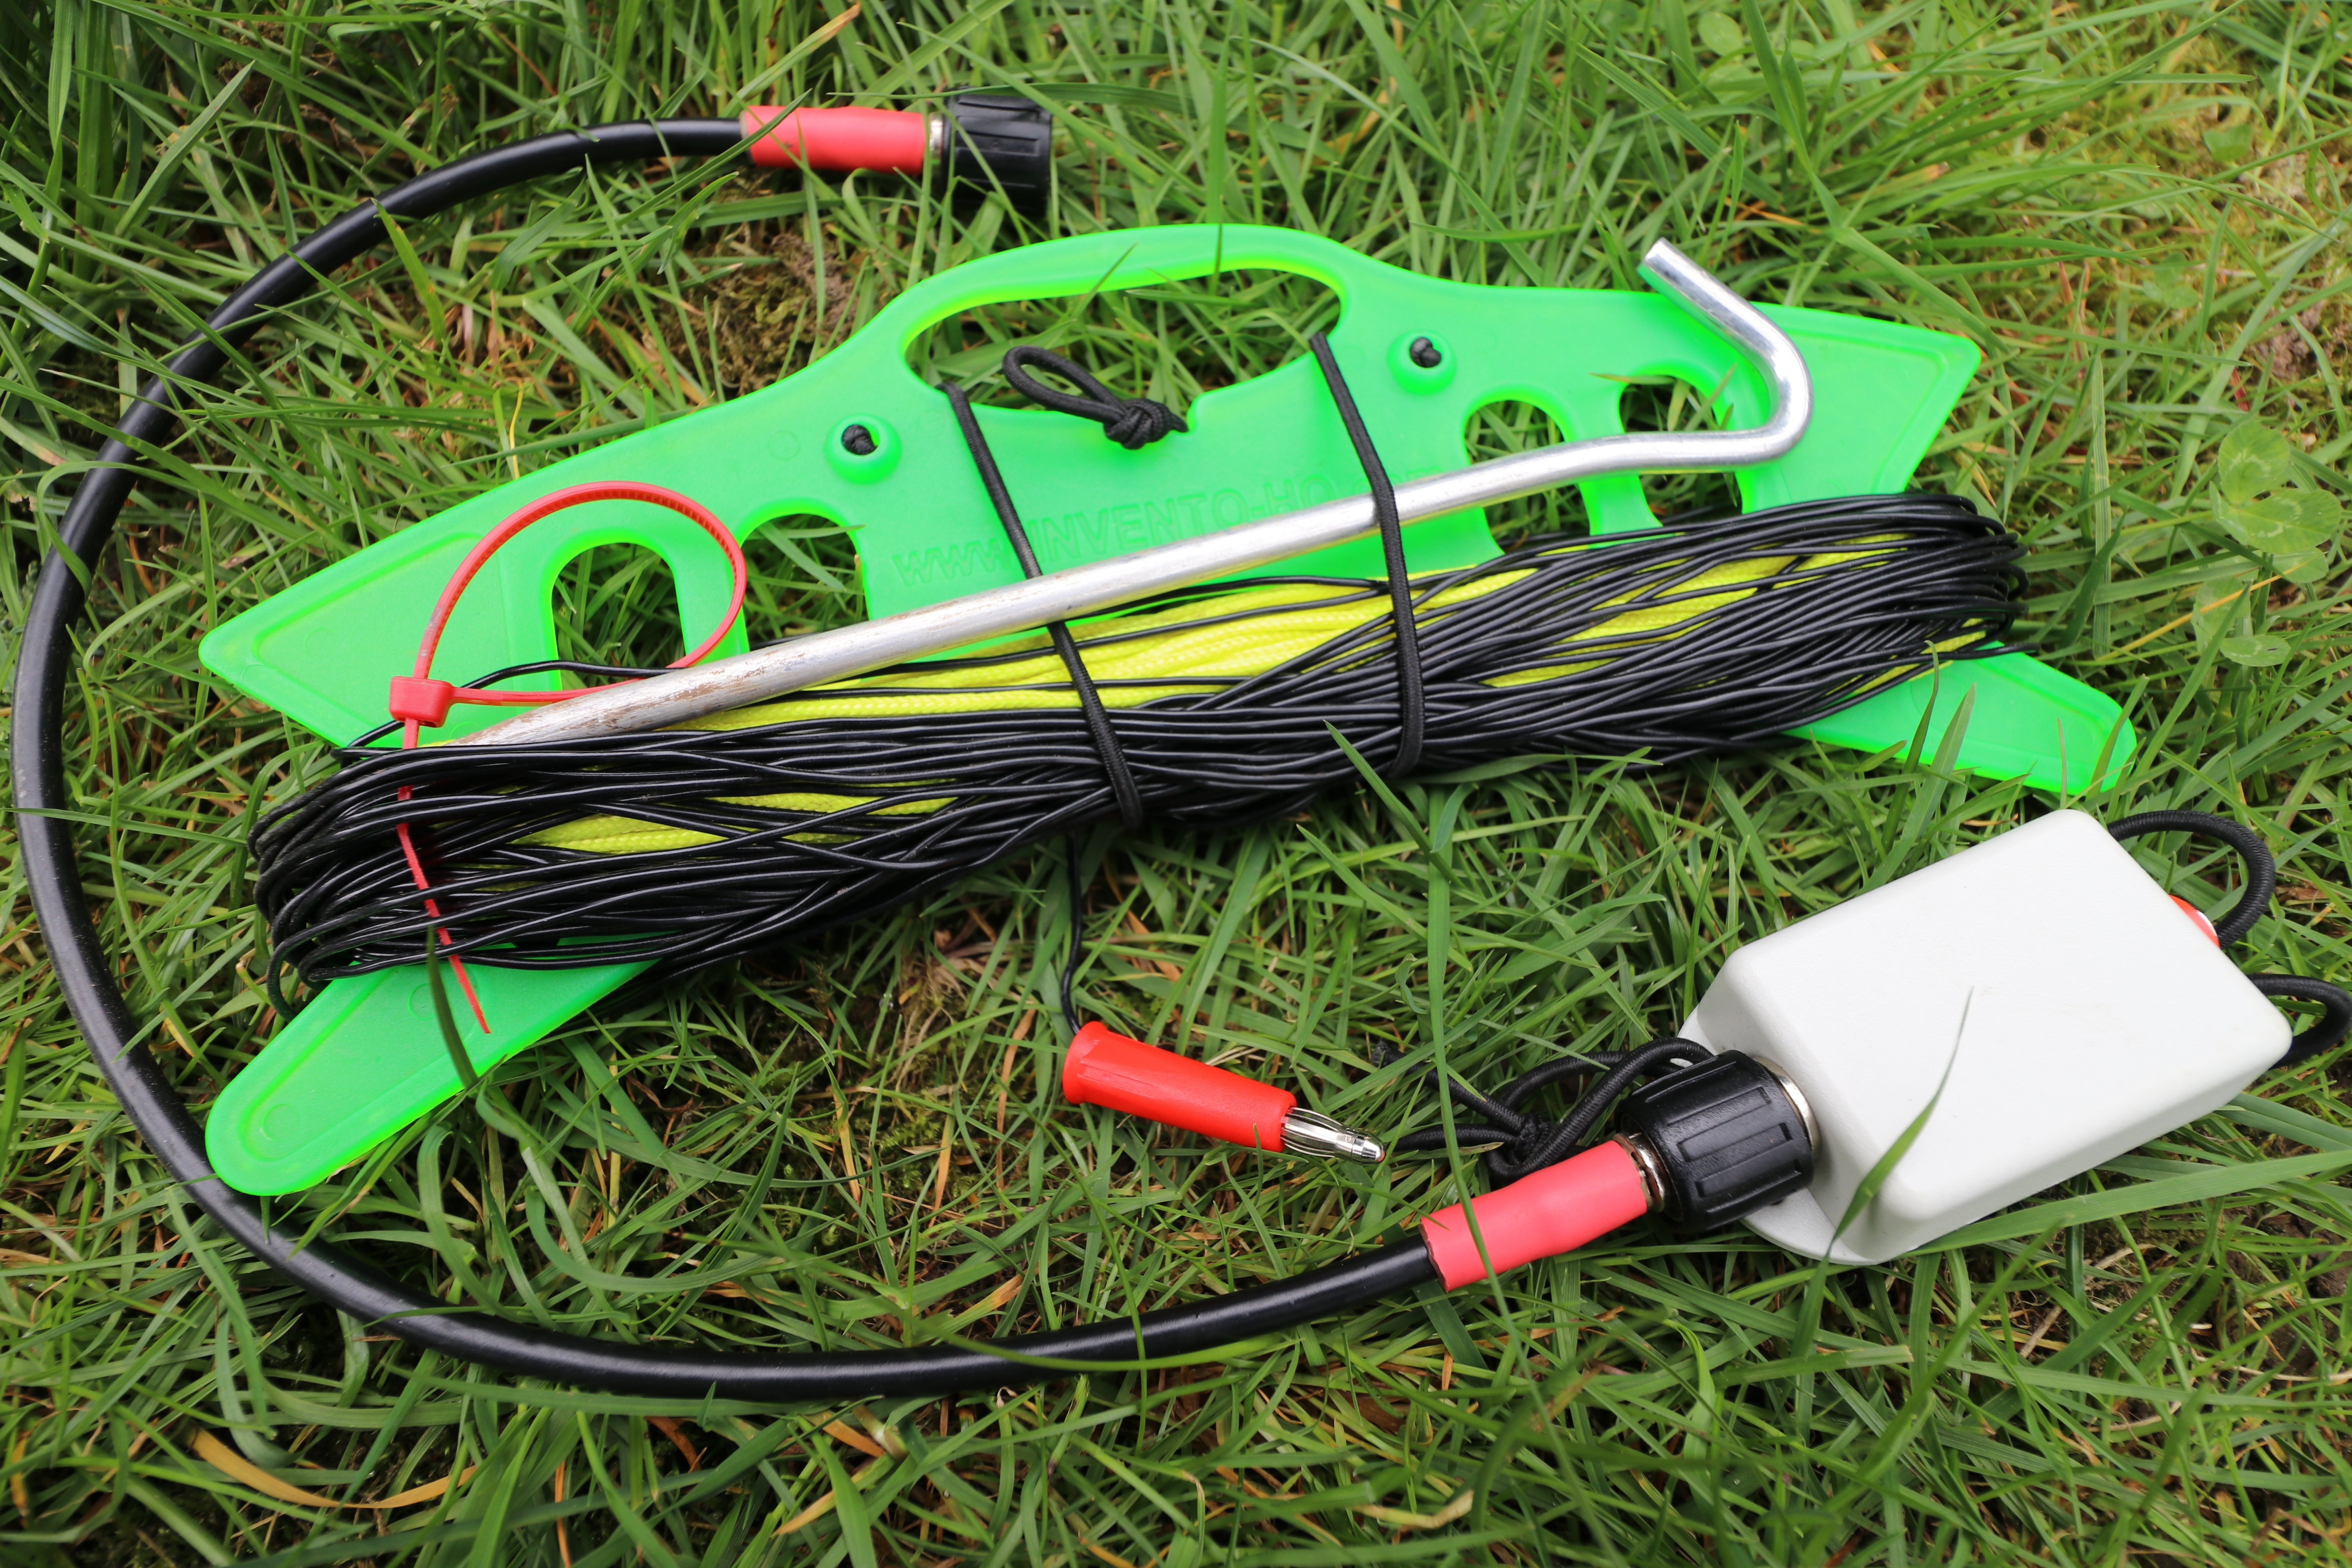
A slightly simpler and lighter alternative to the dipole is an End Fed Half Wave (EFHW) aerial. The picture shows a three band EFHW for 20, 30 & 40m using pico traps weighing in at just 245g.More details on the build of my three band EFHW aerial can be found under the EFHW menu option at the top of the page.
Batteries & Keys
Power is a premium on a summit. The more output power you try to use the more input power that will be required and, therefore, the larger the battery capacity you will require. For context, I never run more than 5W for CW (sometimes just 2W) and I never use more than 10W for SSB. This is just my preference and my battery choice reflects this.The days of lugging Sealed Lead Acid Batteries (SLABs) up hills is thankfully behind me now and my options are usually LiFePo4 and LiPo 3S.
LiFePo4 is Lithium iron phosphate and each cell has a voltage of about 3.2V, therefore a 4 cell version gives you 12.8V (typically 13.2V when fully charged).
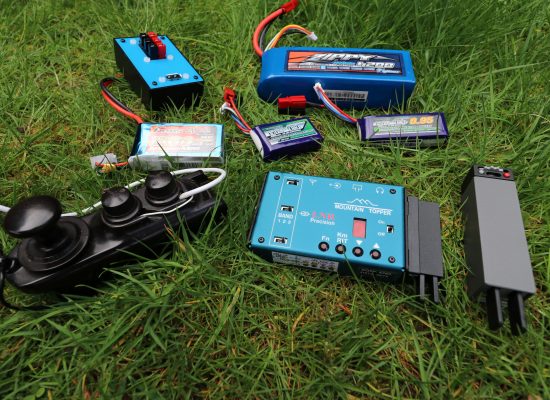
This is a little low for some applications but opting for a 4 cell version moves you to 15 – 16V which may be a little high. Some operators use the higher voltage batteries and use diodes in series to drop the extra voltage.
Be aware that on very cold summits batteries may not maintain their normal capacity…that goes for your radio batteries but also your phone batteries, tablet batteries, torch batteries et al.
1300mAh LiPo, 106g
950mAh LiPo, 70g
460mAh LiPo, 50g
Spotting & logging
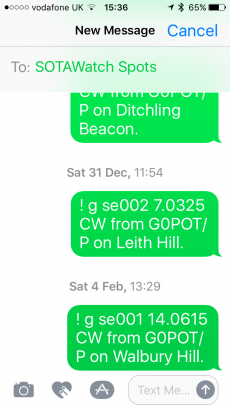
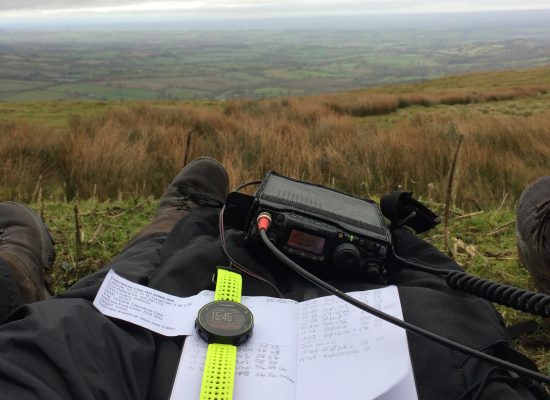
The great thing about being a SOTA activator is that you’re like rare DX and if you can advertise your presence Chasers will hunt you down. In Getting Started, above, I talked about sotawatch.org and how as a Chaser you could use it to see when summits were being activated. Well, as an Activator you want to spot yourself on there and you can either do that through the web site (if you have great data coverage from your summit) or, if mobile coverage is marginal, you can use an SMS gateway to spot yourself or simply ask one of the stations you work to do it for you.If you are activating a summit using CW there is another option. You can set up an Alert at sotawatch.org of your intended activation…if RBN then spots your call it can link that and the Activation notification and automatically spot you…genius.
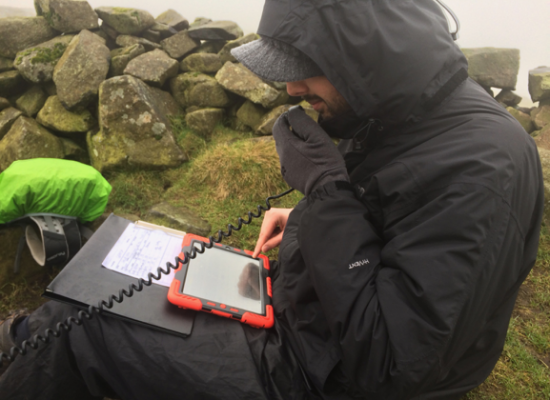
After the activation
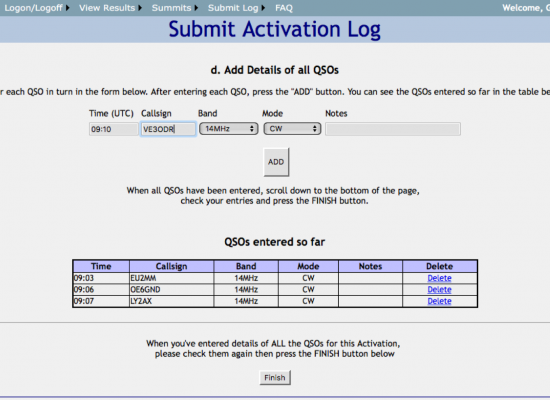
When you get home from your summit don’t forget to upload your logs to sotadata.org.uk to earn your points. If you’ve electronically logged you can upload a log in csv format otherwise, for paper loggers like me, I simply add each QSO manually…it’s actually quite quick but you have to be careful you don’t make any mistakes. When you submit your log you will get an update of your current score.Congratulations, you’ve done it! Now blog about your experience and upload a link to the sotadata.org.uk page for that summit :o)
For more information on SOTA visit www.sota.org.uk